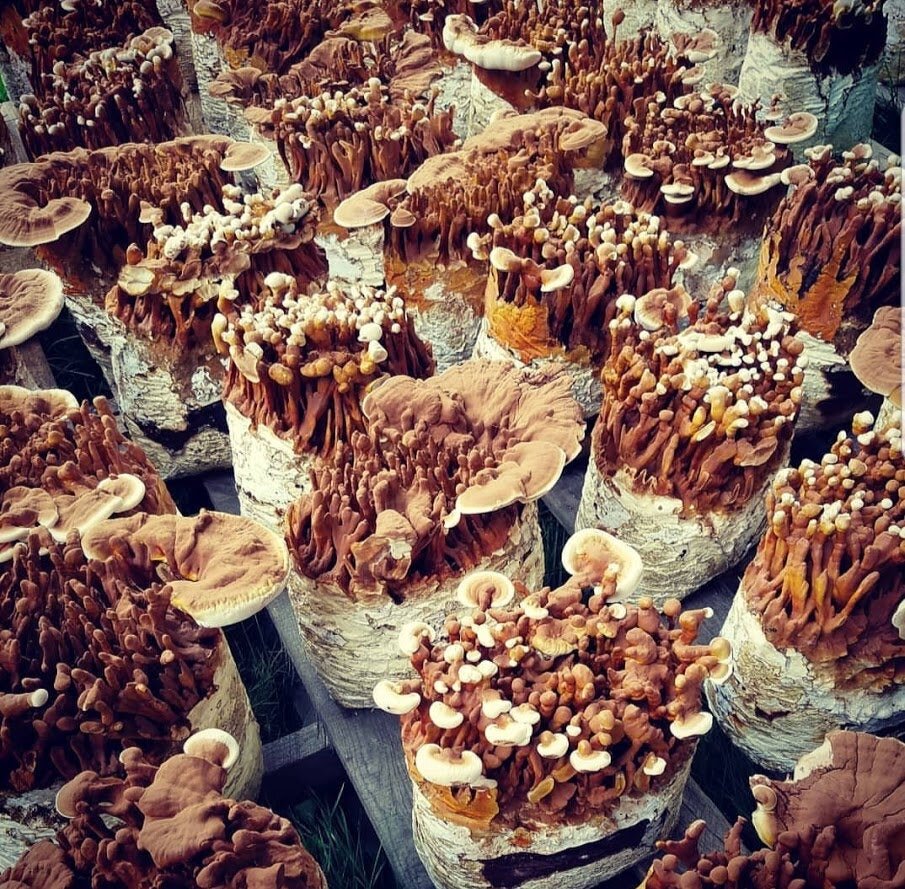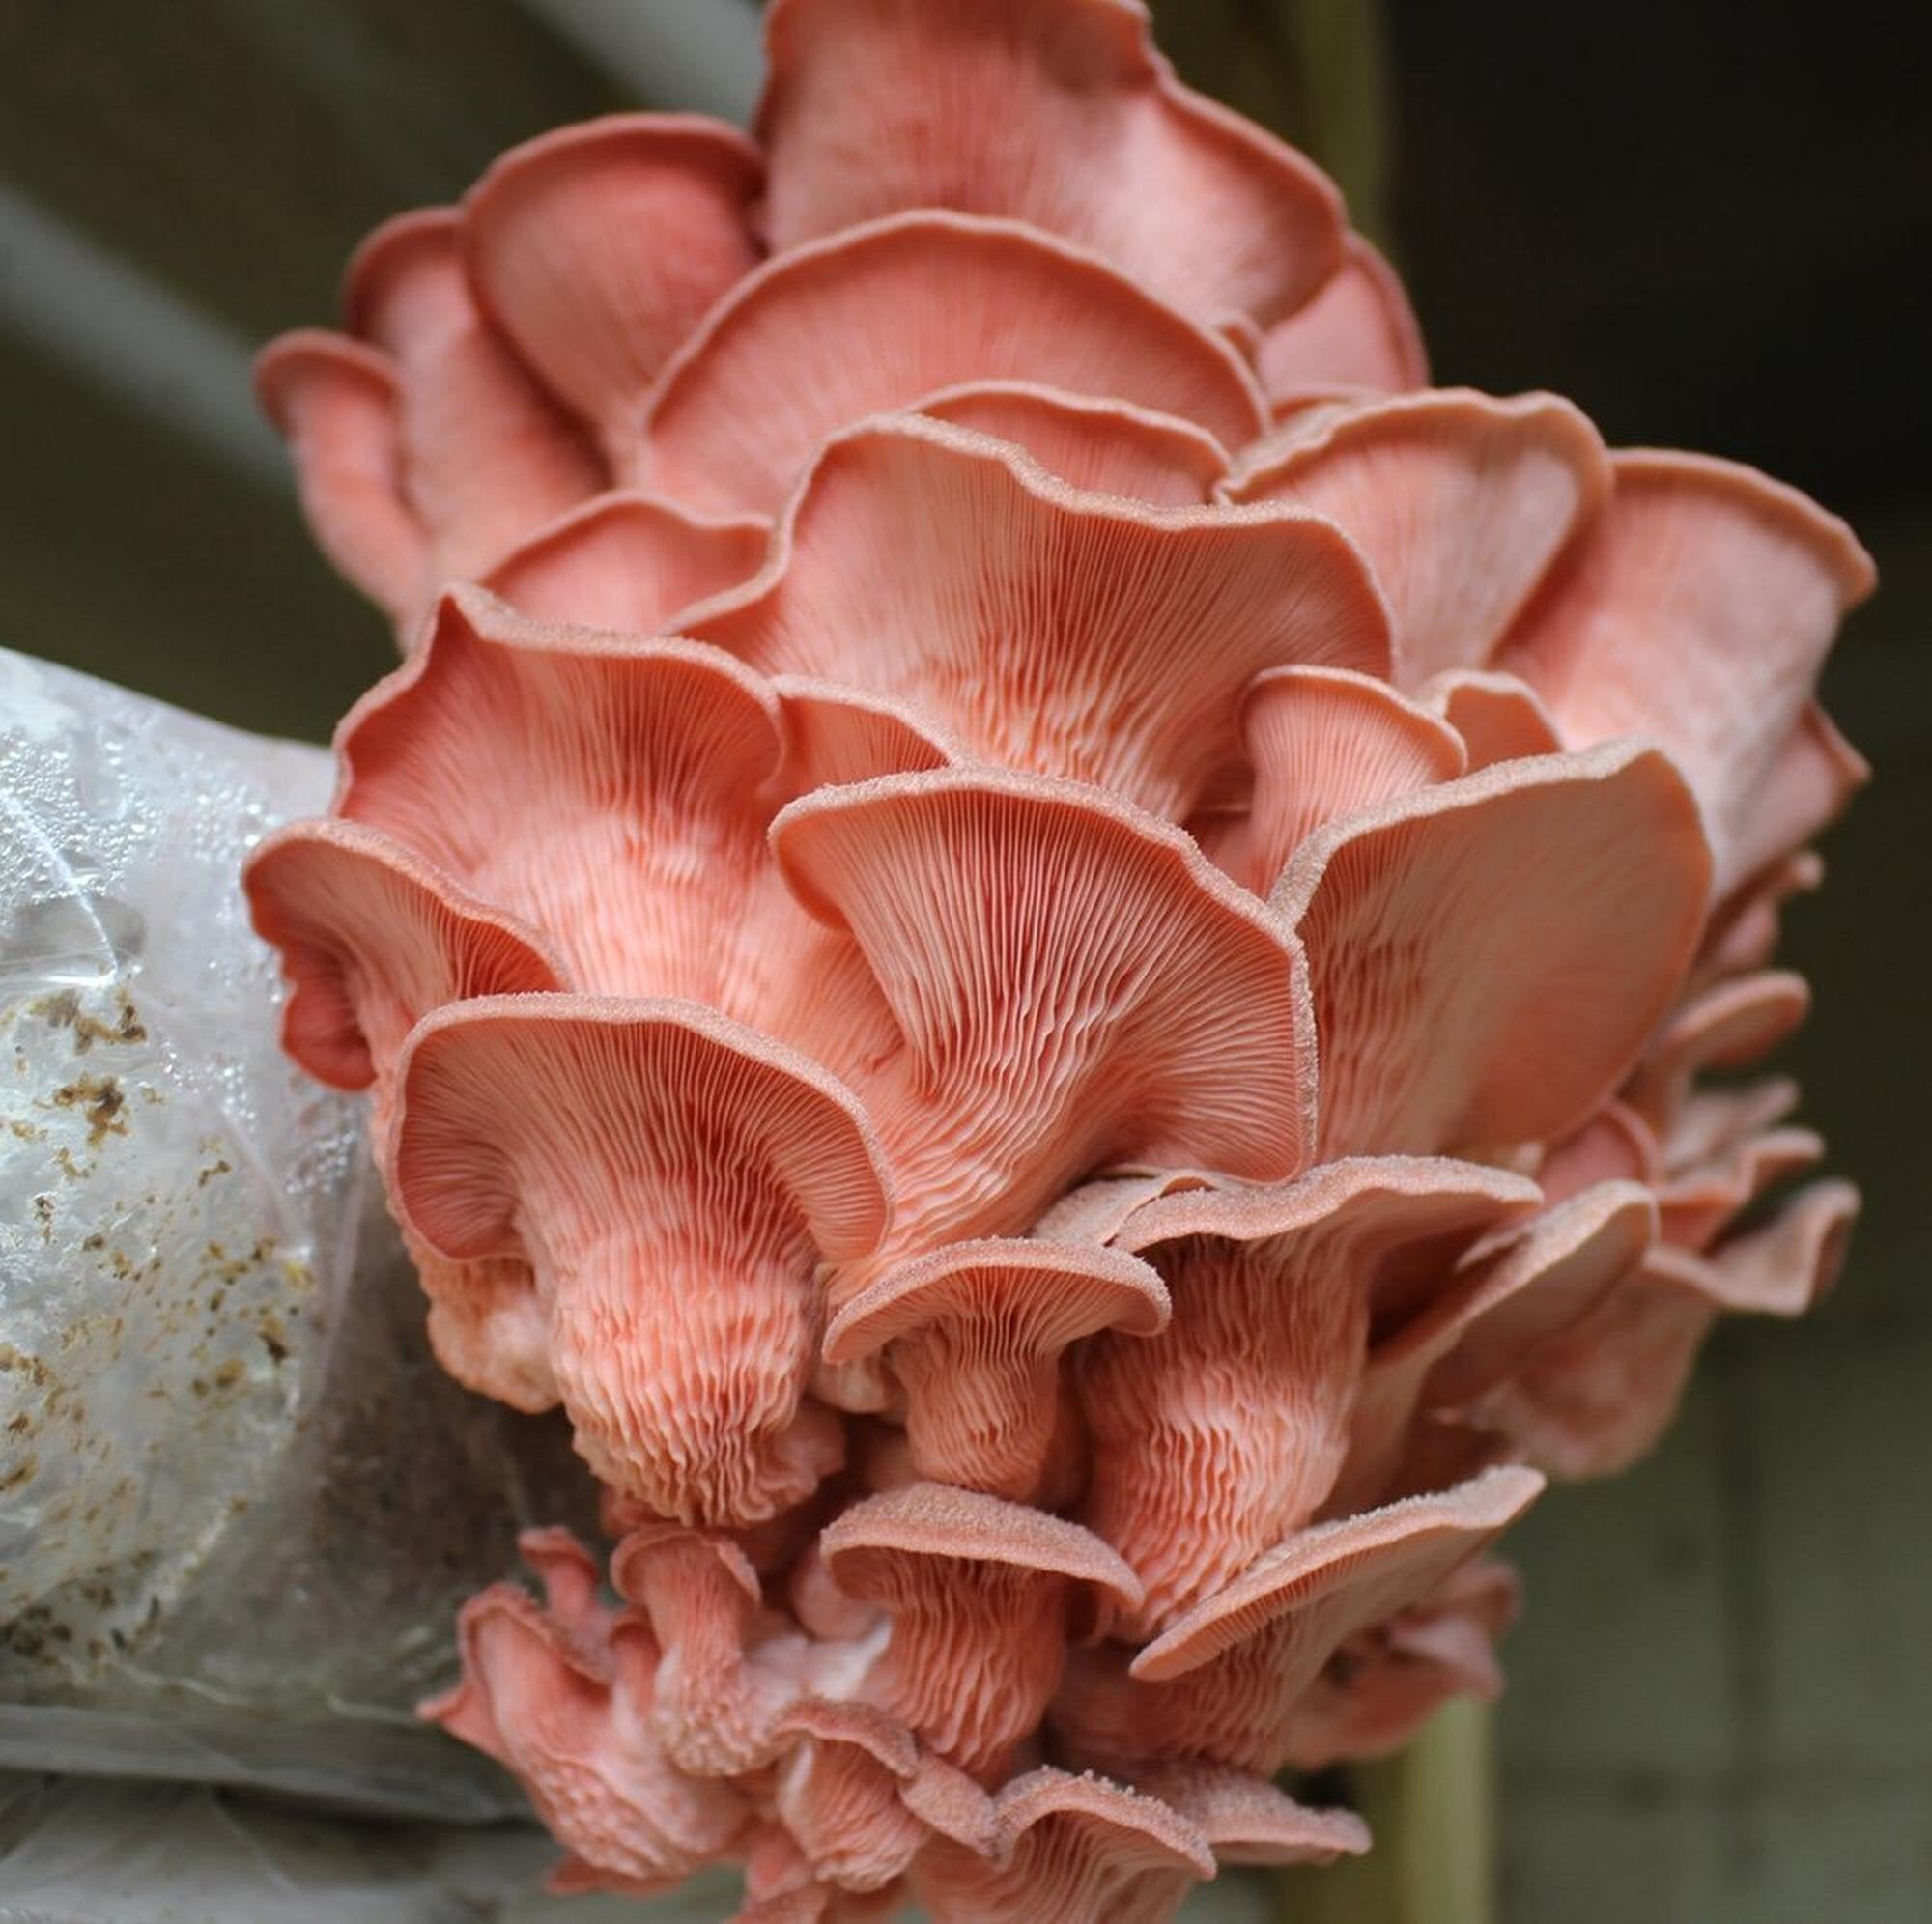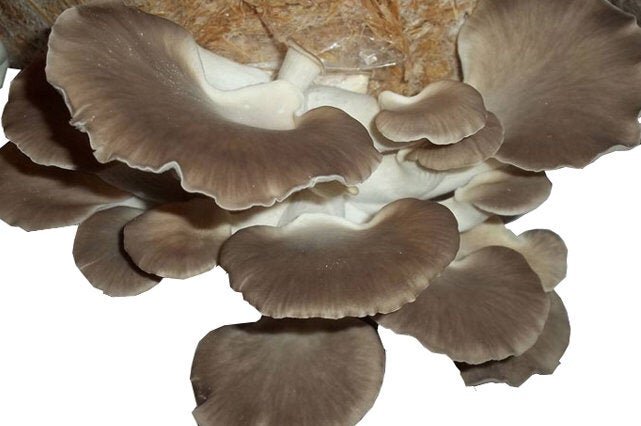
Grey Oyster Mushroom Spawn
This listing is for live and very active mycelium/mushroom spawn. The Mycelium from this spawn will spread VERY quickly!! This is live Mycelium, and will get you MUCH faster flushes and harvests VS inferior dried plugs or dowels.
Instructions on how to grow mushrooms on straw are included.
This listing is for live and very active mycelium/mushroom spawn. The Mycelium from this spawn will spread VERY quickly!! This is live Mycelium, and will get you MUCH faster flushes and harvests VS inferior dried plugs or dowels.
Instructions on how to grow mushrooms on straw are included.
This listing is for live and very active mycelium/mushroom spawn. The Mycelium from this spawn will spread VERY quickly!! This is live Mycelium, and will get you MUCH faster flushes and harvests VS inferior dried plugs or dowels.
Instructions on how to grow mushrooms on straw are included.
Cultivation techniques for oyster mushrooms
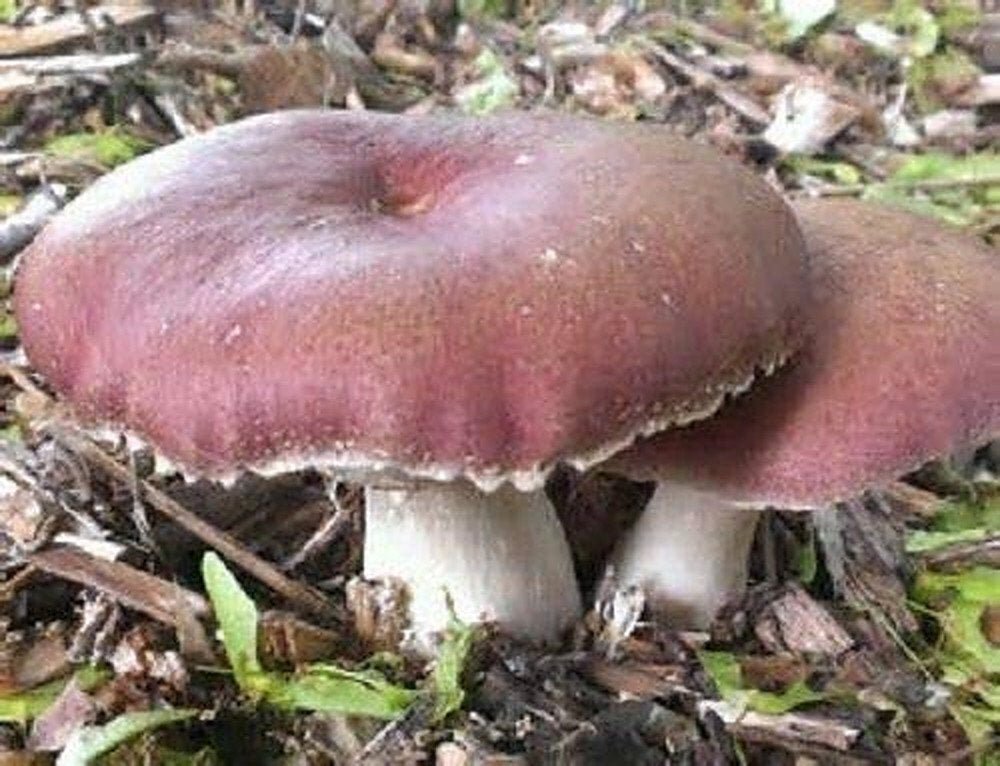
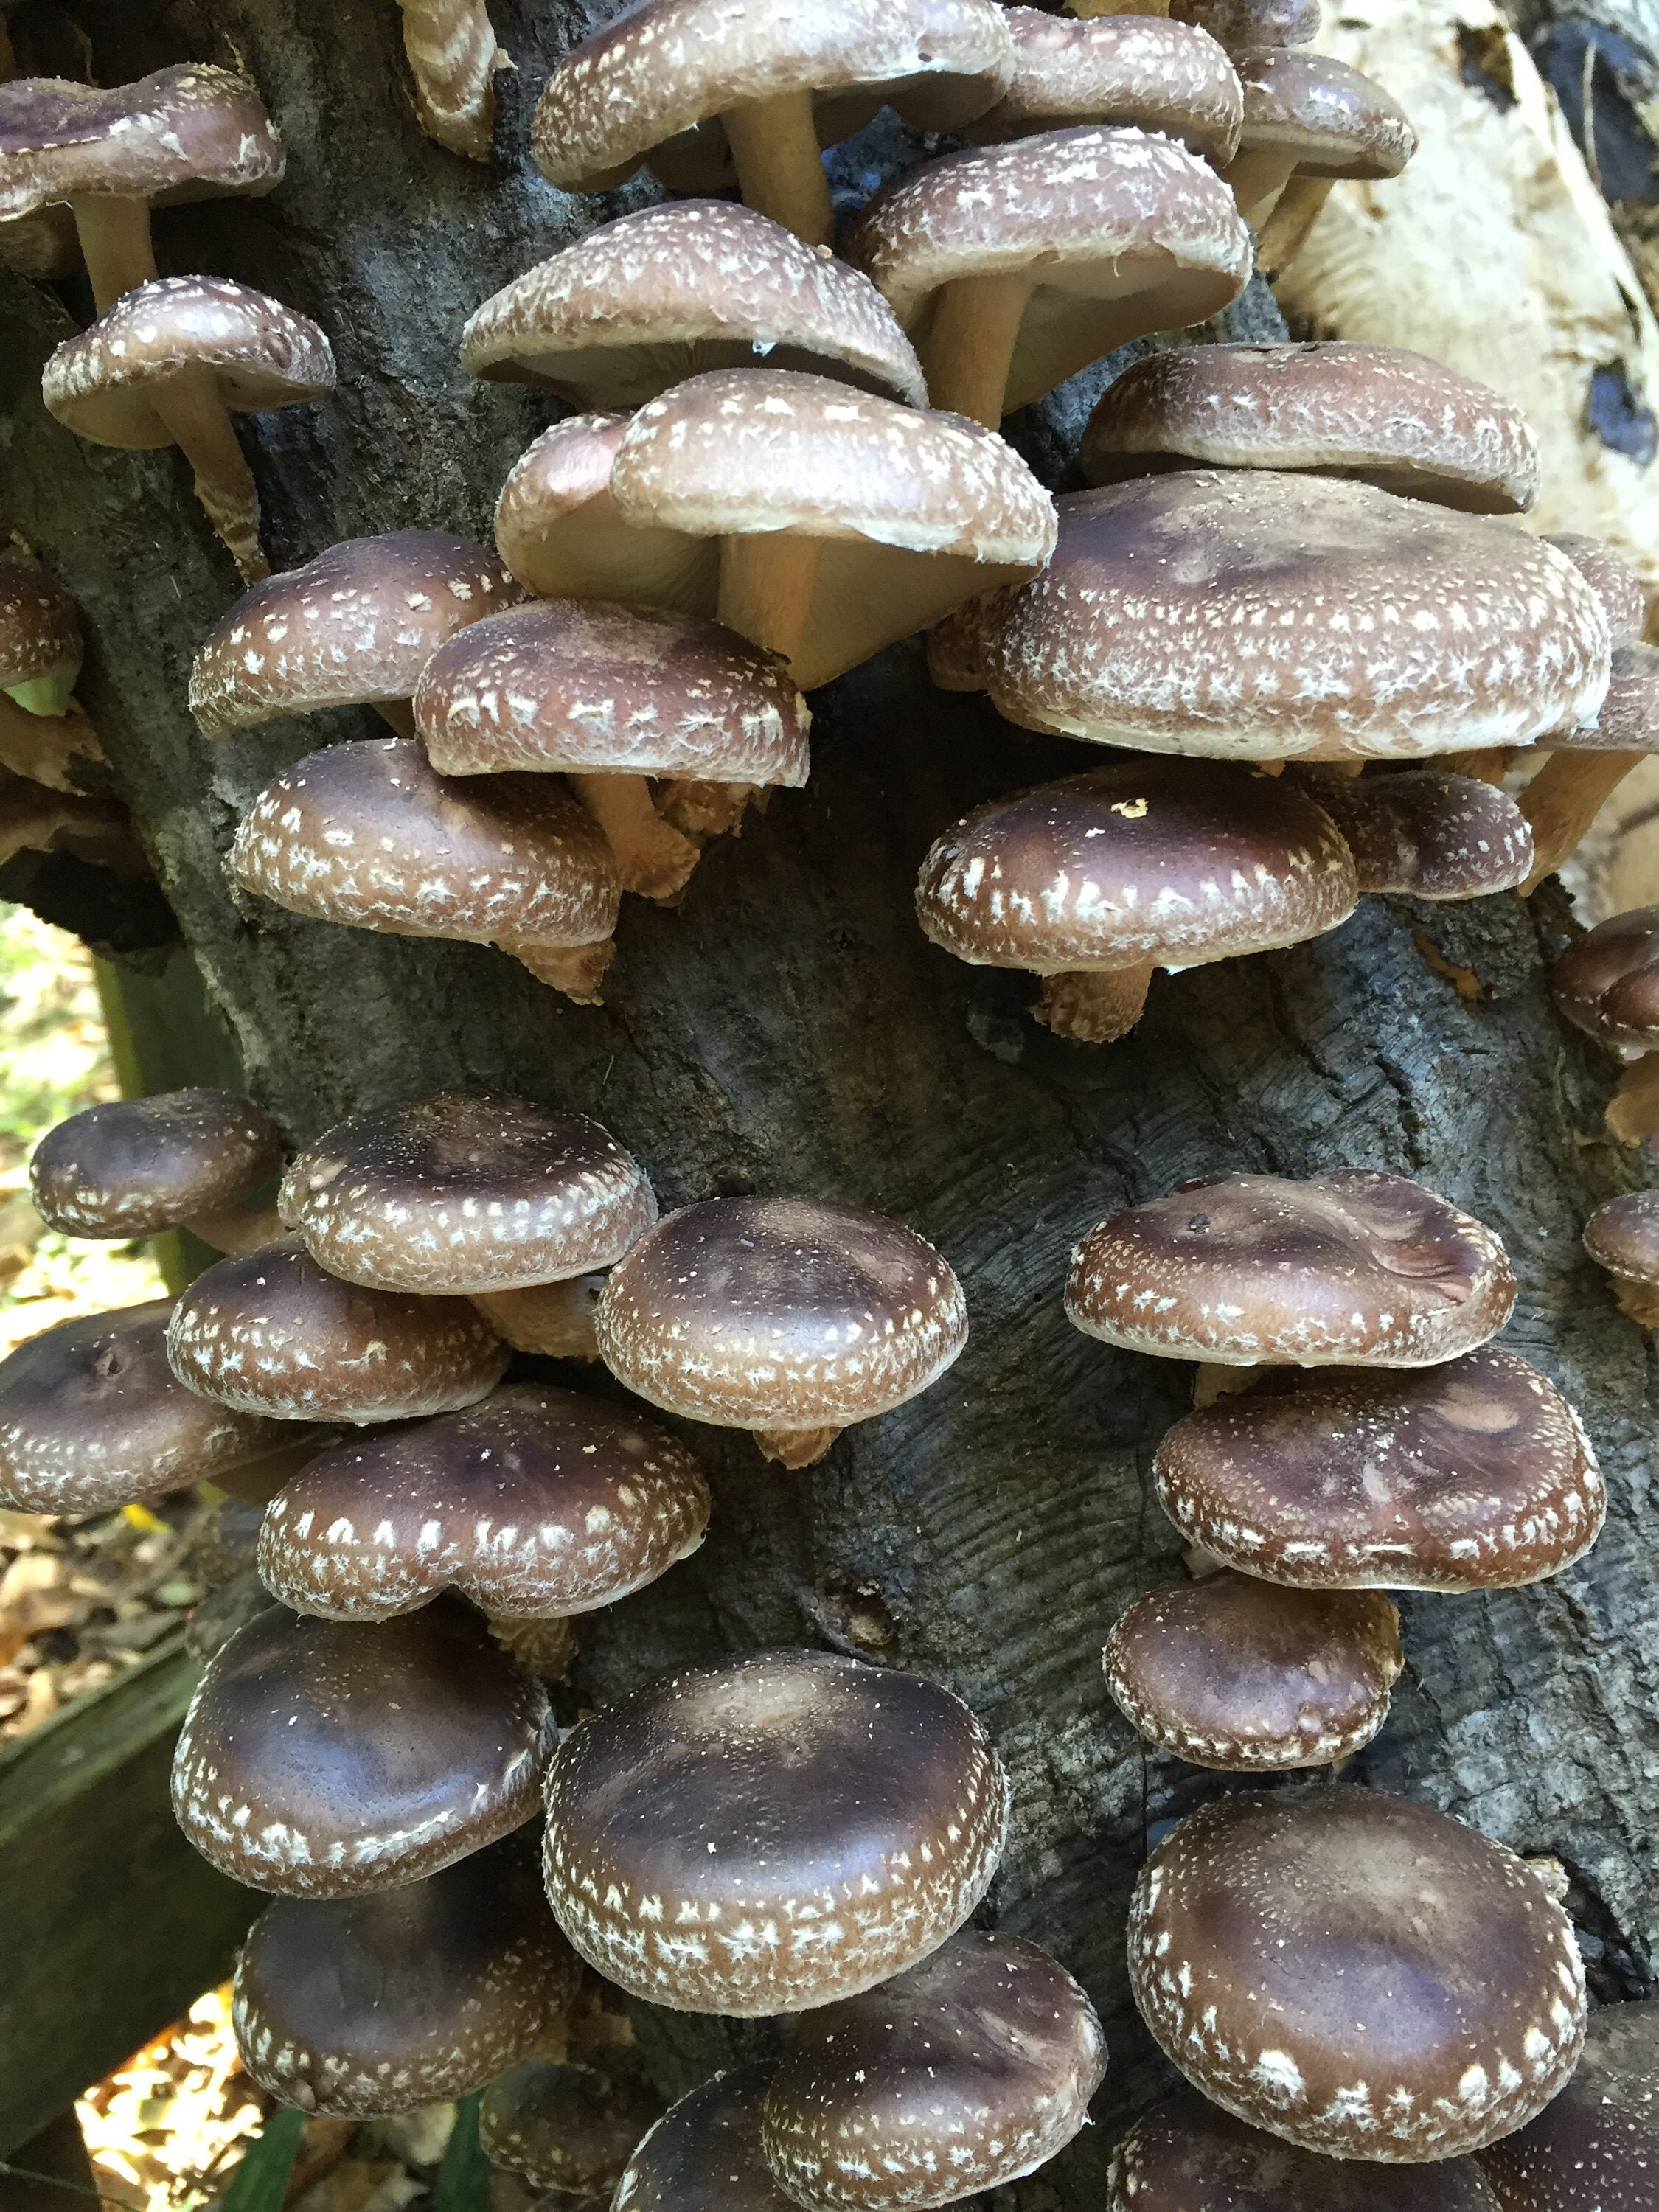
Oyster mushrooms, (species Pleurotus ostreatus), are one of the easiest mushrooms to grow, and thus are widely cultivated and sold in retail stores. There are at least a dozen subspecies of oyster mushroom and the majority grow in wooded and forest areas. Today oyster mushrooms are widely consumed by many cultures; they can be consumed raw or by cooking in a variety of ways.
Oyster mushrooms have broad thin-fan shaped tops and come in several colors and can grow in small clusters or large individual mushrooms. Many people have started to grow oyster mushrooms indoors so that they have ready access to fresh mushrooms for most of the year. Unlike many other mushroom species, the oyster mushroom can grow on any suitable substrates, including straw, woodchips, sawdust, cardboard, or logs. However, for those of you who would like to cultivate oyster mushrooms indoors, here are a few tips to help you get started.
Before you consider growing oyster mushrooms, you first need to know what subtype of oyster mushroom you would like to grow since each has its own specific taste, texture, and aroma. There are many varieties, both large and small and the choice depends on your personal preference, available space, and environmental conditions. So before you start to grow them, read about the different types of oyster mushrooms.
The other key feature about growing oyster mushrooms indoors is that it may be labor and time-intensive; however, the more work you put in the beginning, the more rewarding will be the experience.
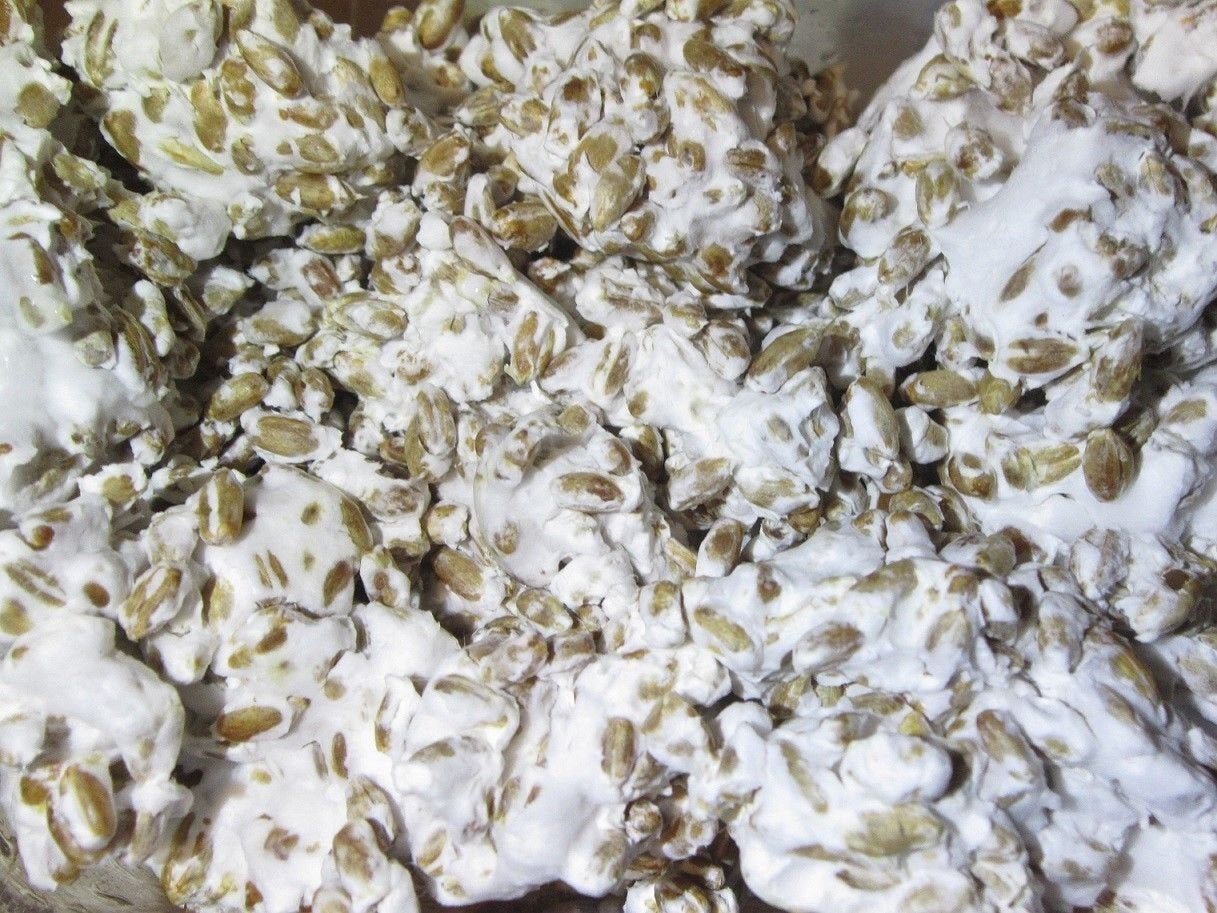
Media/Substrate: Unlike many other plants, oyster mushrooms are not difficult to grow. These plants grow almost anywhere in wooded and forest areas. However, to grow mushrooms in the home, you need some type of base or media. Common bases are straw, tea or coffee grounds, sawdust, banana leaves, coconut hair, sugar cane residue, fruit rinds, or wood chips. Oyster mushrooms will break down the base and use it as nutrition. We have several substrate options available at our store.
Sterilize/Pasteurize: If you plan to use any of these bases you first need to sterilize or pasteurize it or the media will quickly be taken over by other bacteria and kill off all mushroom spores. The easiest way to prepare the media is by pasteurization by placing the substrate in hot water for about 2 hours. The water temperature should stay consistently around 180 degrees. (We have step by step instructions on how to grow on straw or by using sawdust blocks in another article).
Inoculation: When you have your media ready, you need to inoculate it with spawn (mushroom seeds). While you can have spawn collected from older mushrooms, it is best to buy it premade at our store or elsewhere. The spawn must be thoroughly mixed with the media to get the maximum number of inoculated targets.
Kits: Setting up your media for oyster mushrooms can be a hassle, so the best suggestion is to buy the ready-made sterile kits available from our store. These kits already have an enriched base containing inoculated sawdust or straw for the growth of the mushrooms and all you have to do is provide the water, the right temperature, and lighting.
Growth and storage. Oyster mushrooms grow best in dark areas without too much direct sunlight. After you have inoculated your media with the spores, you can place the container in a cool place like a garage or the attic. To prevent insects and other creatures from entering the container, cover the container with a plastic liner that has been soaked in some type of oil.
Air: Oyster mushrooms tend to prefer fresh air; so regularly allow air to recirculate the room; if there is no window, you may have to use a fan for a few hours every day. If your mushroom species requires dampness, then leave a bowl of water nearby so that the air is humidified or use a humidifier. Fresh air generally results in better growth of oyster mushrooms.
Watering: No matter what substrate you use to grow the oyster mushrooms, you need to keep it moist. Use chemical-free water. Avoid overwatering as this can lead to contamination.
Monitoring: How do I know if the oyster mushroom is growing well? Over the next 3-4 weeks, if conditions are right, the spawn will start to expand and span out, consuming the nutrients in the media. With time, the substrate will continue to get denser and you will start to see little pin-like growths. Within 3-4 days these pins will turn into mature mushrooms. The mushrooms will continue to grow until eventually, they are full-blown mushrooms, complete with stems and caps. Oyster mushrooms tend to change color as they grow.
Harvest: Oyster mushrooms take about 3-4 weeks to grow from spawning to harvest, depending on the conditions. Check your mushrooms regularly and once you see your mushrooms have reached the full size, you can harvest them by cutting at the base. Please note that if the caps of oyster mushrooms are starting to flatten, they are about to release their spores. It is best to harvest your mushrooms before they release their spores. It is advised to use a sharp knife or scissors to cut the mushrooms, so you do not damage the underlying mycelium.
Second Fruiting: Once you have harvested your mushrooms, ensure that the block is not contaminated. Allow the block to rest for a couple of weeks. After that time, place the block in a bucket of water, completely covering the block with water for 12-24 hours. Then, place the block back in a fruiting chamber. After that, your block should start pinning again. You can repeat this process 2-4 times before the block is completely spent.
When To Eat: Oyster mushrooms have one shortcoming: they tend to have a very short shelf-life. So once harvested you need to consume them within 3-5 days to enjoy the delicate taste. If you leave them longer, they will become soggy and develop an odor. Hence, only grow a small batch at a time. If you plan to sell them locally or give to your friends, you need to have them freshly harvested and sold within the first few days.
Final word
While growing oyster mushrooms is not difficult, it may require a few tries initially to perfect the technique. The key is to be patient, start small and put in the leg work. Once you have the conditions perfected, you will never need to buy oyster mushrooms from a store again.